
How and when to use the straight on angle in food photography
There are three core camera angles in food photography: the flatlay, the straight on, and the 45 degree. Each one is used intentionally in different instances and with different subjects in order to highlight specific features of the food. In today’s post, I’ll be running through what the straight on angle is, how you can use it in your imagery and the types of food or food scenes that will benefit best from this angle.
You can read more about the flatlay here and the 45 degree angle here.
What is the straight on angle?
The straight on angle is pretty self explanatory and is used when shooting food from directly in front of the subject. It can also be referred to as a head on shot and generally captures just the one side of your subject. This is different to the 45 degree angle shot that captures both the side and the top of the food.
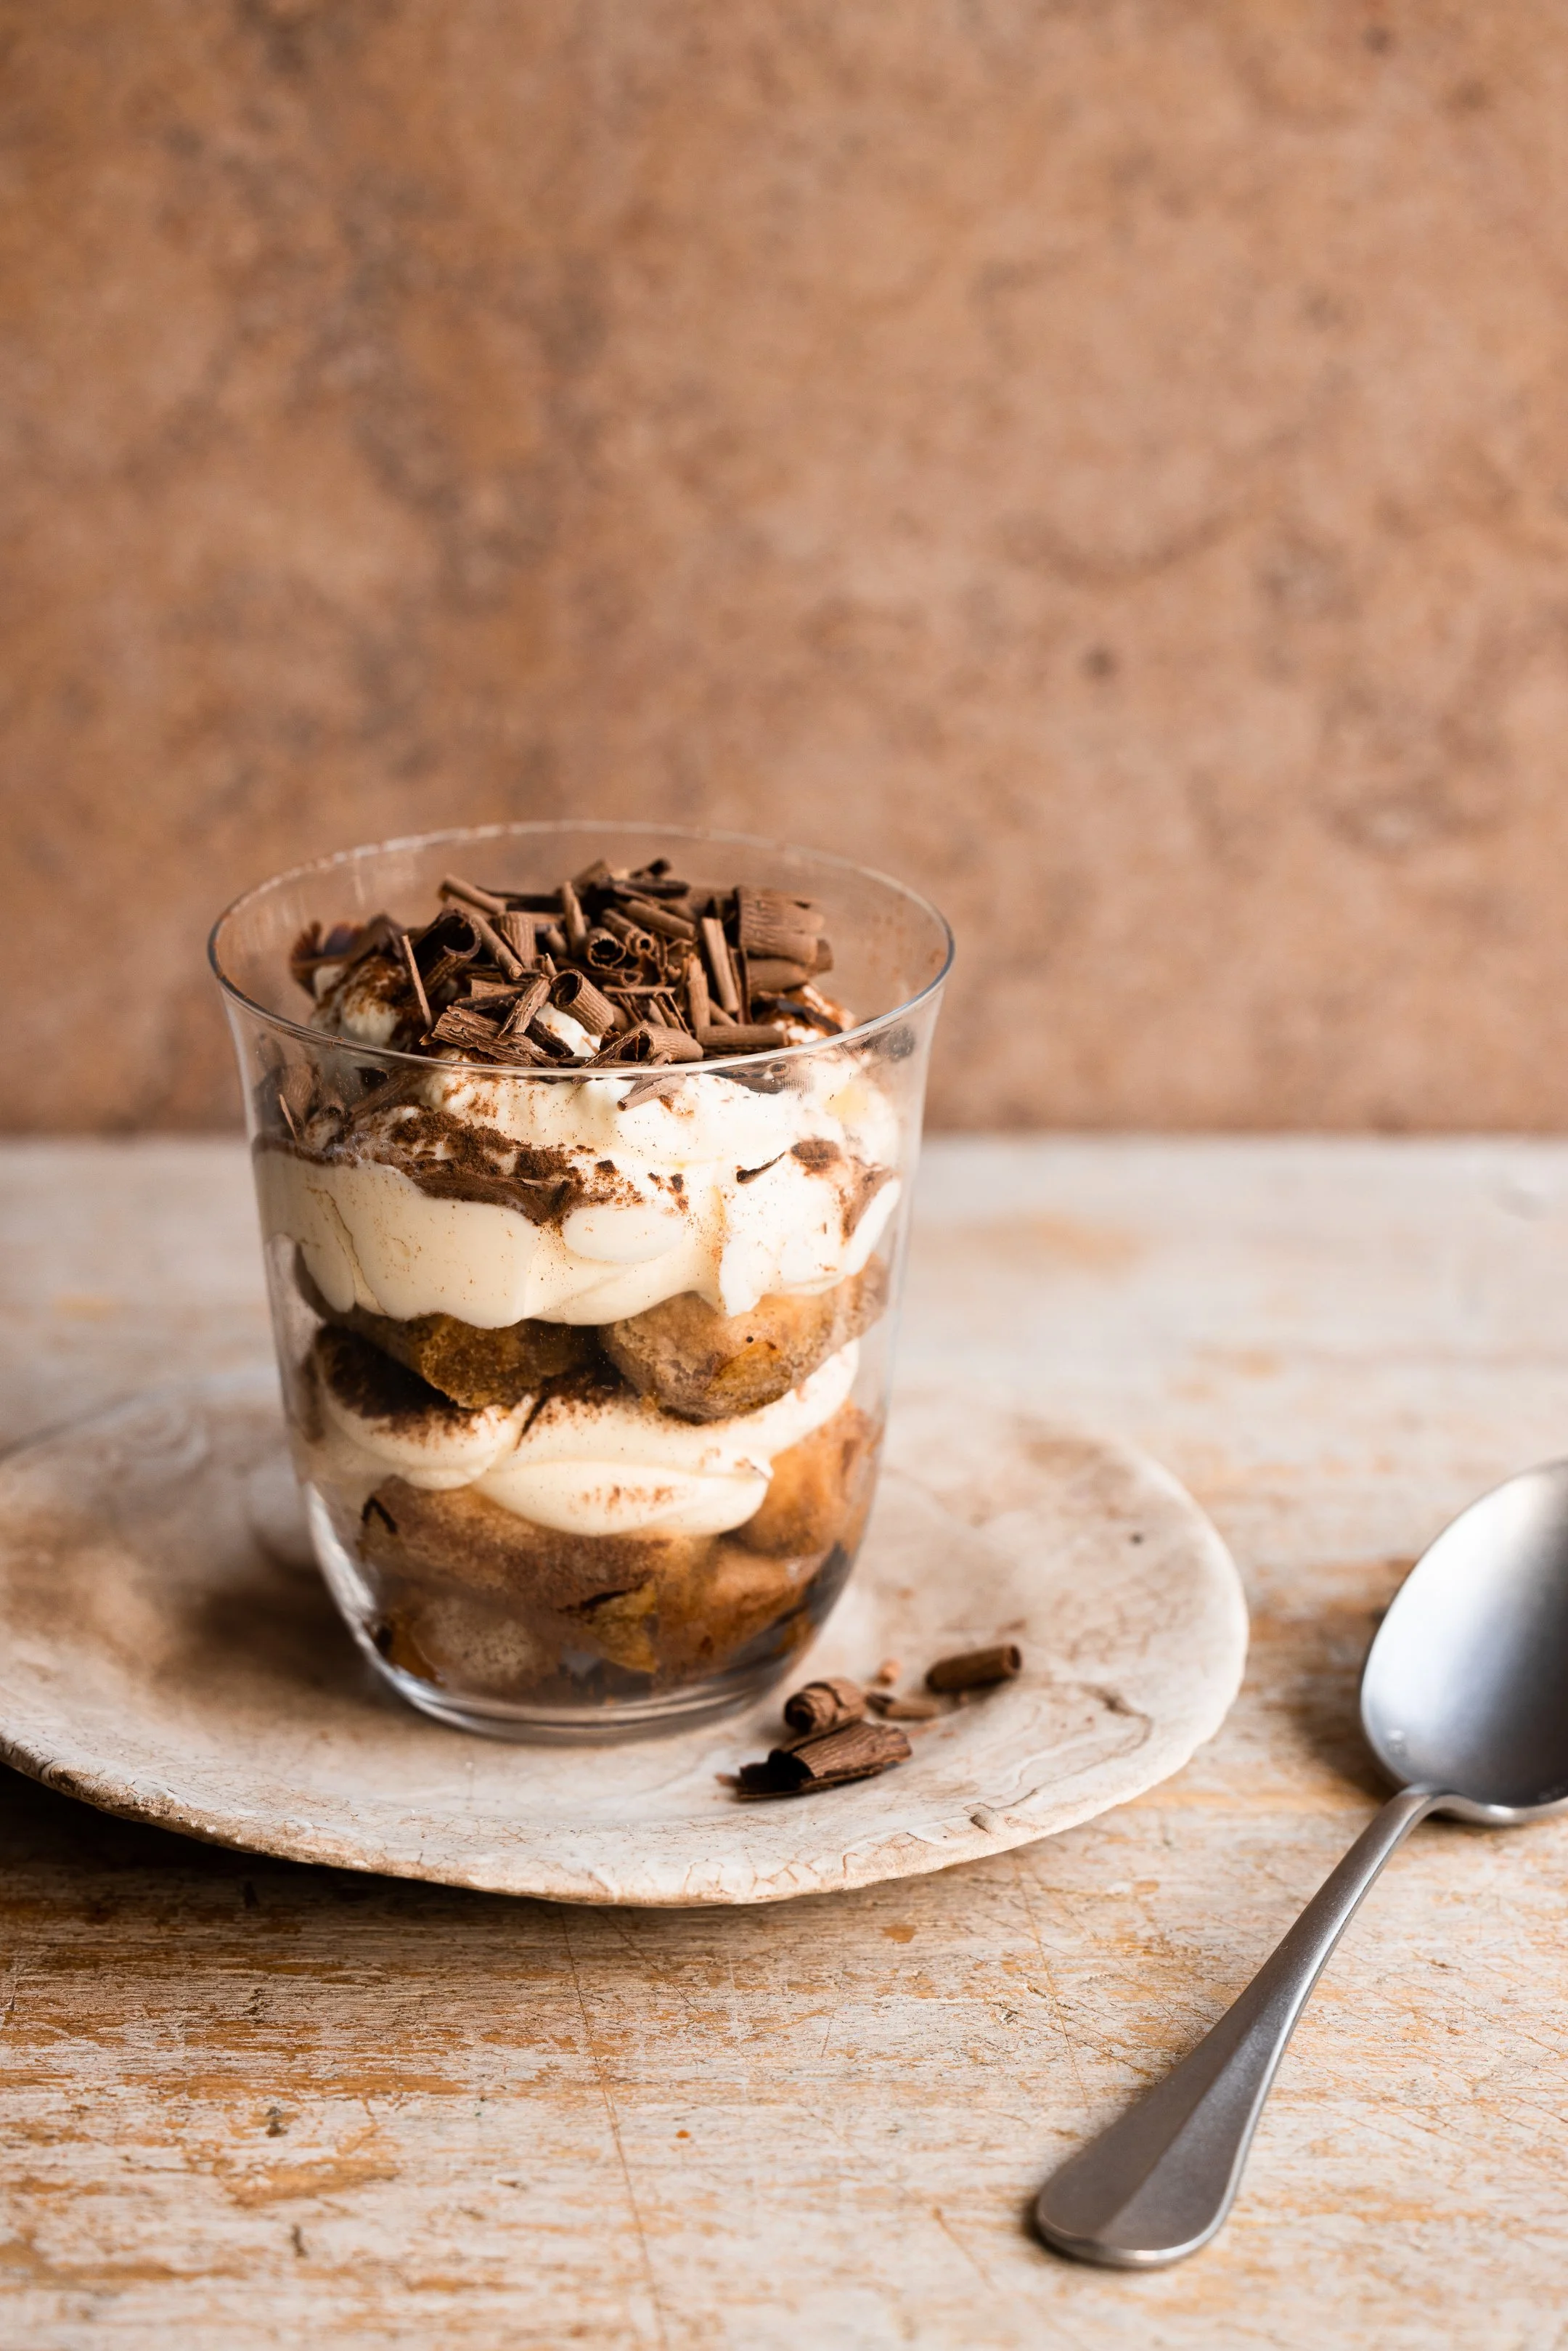


How to capture a straight on shot
Backgrounds play an important role in any straight on shot and can be used to create another layer of texture or colour in your image. Sometimes the chosen surface isn’t as visible in these kind of images, or loses some of its texture with blur in the foreground, so I’m always asking myself questions about where that texture is going to come from ensure I’m choosing backgrounds and surfaces don’t compete with the subject I’m keen to focus on. Sometimes I’ll opt for linens as a surface or as an additional layer if I feel like I need more shadow and interest. Additional props can also be added in the background to create more of a story in the image.
There’s always the option to play with bokeh in a straight on shot, which refers to blurred areas of the image that can be created using varying depths of field. This can be a great way to hero in on the subject, or to give the sense that the image continues on past the visible frame.


When to use the straight on angle
The straight on angle is best used when you’re looking to highlight the sides or visible layers of your food. It’s great for anything stackable, like sandwiches or pancakes, or whenever the detail is lacking on the top of the food itself.
It’s also great for branded shots when the focus is on a product or the packaging, as you can see in the Peter’s Yard example below, (read the Peter’s Yard blog post here) and it can also be used to create plenty of negative space that can allow for text overlays too. This is especially helpful for digital ads or editorial work.
The straight on angle doesn’t work very well for flatter foods or single layer dishes, like salads or pasta for example, but can be a great way to capture movement instead. Pours, dusts and drizzles always look good with the straight on camera angle!


Are you looking for a food photographer?
Hit the button below to see some of my work and to get in touch.
Like this post? Pin it to Pinterest and save for later.
